Repainting allows you to quickly refresh a worn floor and give the room a real boost. We have divided the work into three phases to make it easier and to help you achieve a really good result.
Step by step
Preparatory work
Removing nails
It is common for nails to protrude from wooden floors and trim. Hammer the nails below the surface of the wood.
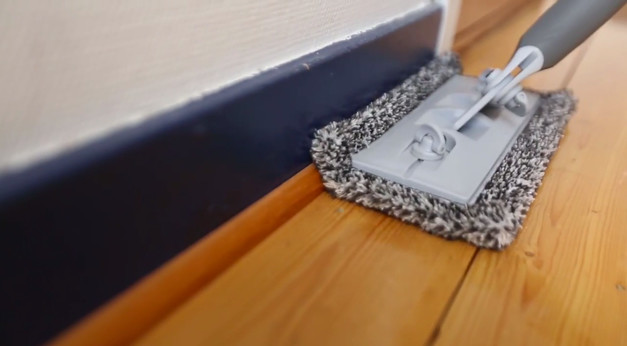
Washing
Wash all surfaces thoroughly with paint cleaner, making sure not to miss any corners or edges. Allow to dry.
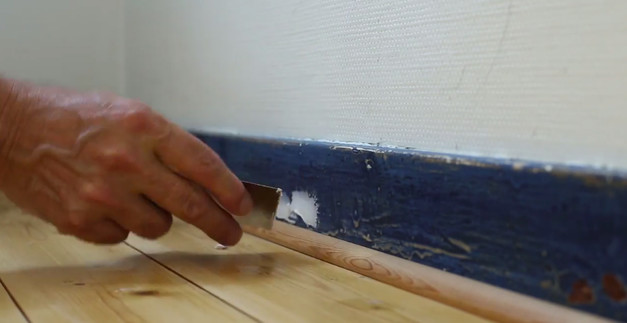
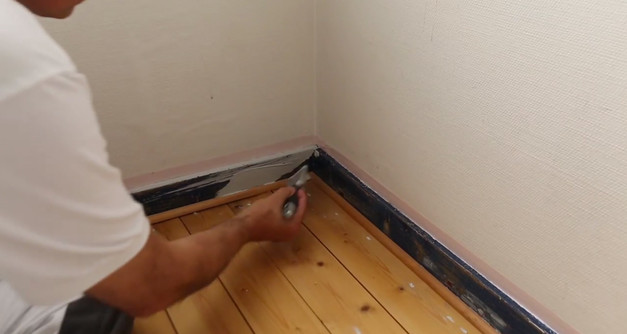
Scraping
Scrape off any irregularities and loose paint with a scraper.
Next, sand the surface to ensure better paint adhesion. If you want to avoid dust spreading to other parts of your home, create a "dust trap" from construction plastic at the exit you plan to use. Then wipe the surfaces completely clean with a microfiber cloth.
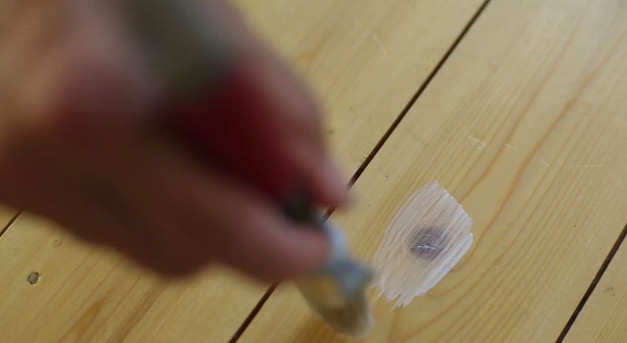
Knotting solution
Apply knotting solution with a brush to all knots. Knotting solution prevents knots from bleeding through the paint over time. Then fill any irregularities and nail holes. Allow the knotting solution to dry.
Fill
Fill again, this time including the lacquered knots. Wipe the surfaces clean.
Now cover the trim and frames with painter's tape.
Painting
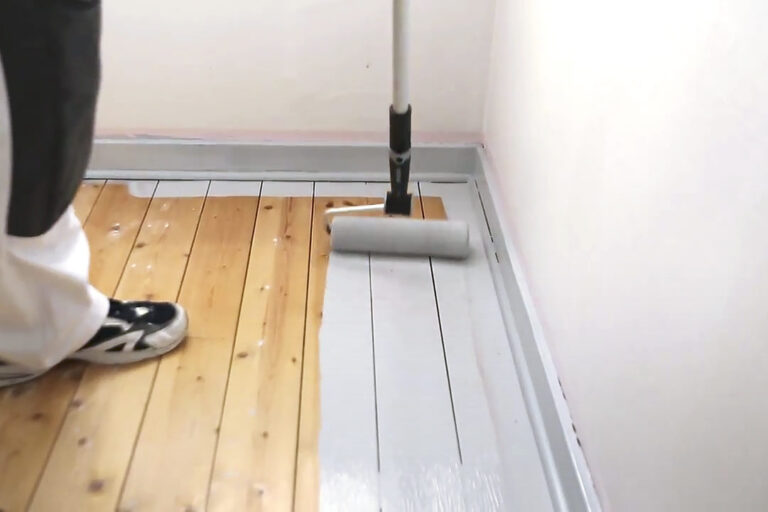
Start painting the floor along the trim with a brush. An angled brush provides a good corner.
Then take a roller and paint the large areas. Use an extension pole to save time and your back. Work with your back towards the exit so you don't get trapped in a corner.
Paint the number of coats recommended by the paint manufacturer. Allow the paint to dry thoroughly before moving furniture back into place. Wipe the floor and enjoy your beautiful new floor.