
The ceiling is the foundation for painting a room, so start carefully from the top. Don't forget to paint the ceiling moldings at the same time as you paint the ceiling – this will result in a better and more cohesive finish. Our step-by-step guide will help you succeed in each stage of the work.
Step by step
Preparation
Protect the floor
Empty the room of furniture and protect the floor with paper or plastic to shield it from paint splatters.
Wash the ceiling
Carefully check the condition of your ceiling and ceiling moldings. Clean them of dirt and stains. A clean ceiling gives you an advantage when painting, as removing dirt and stains improves paint adhesion.
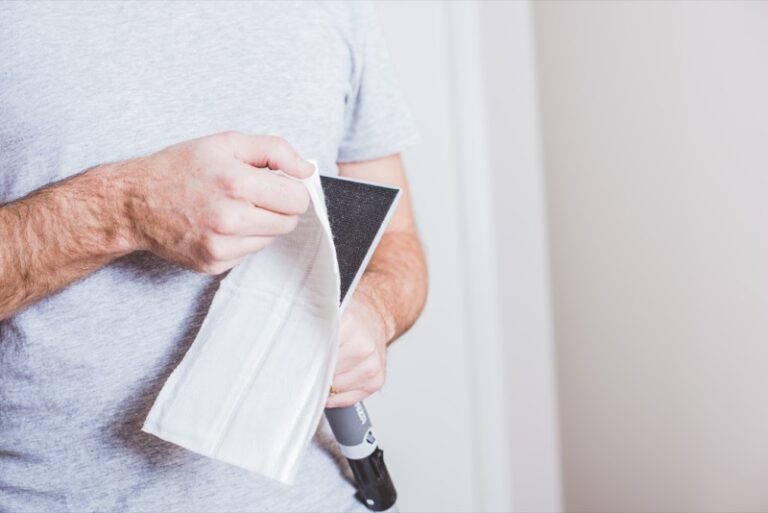
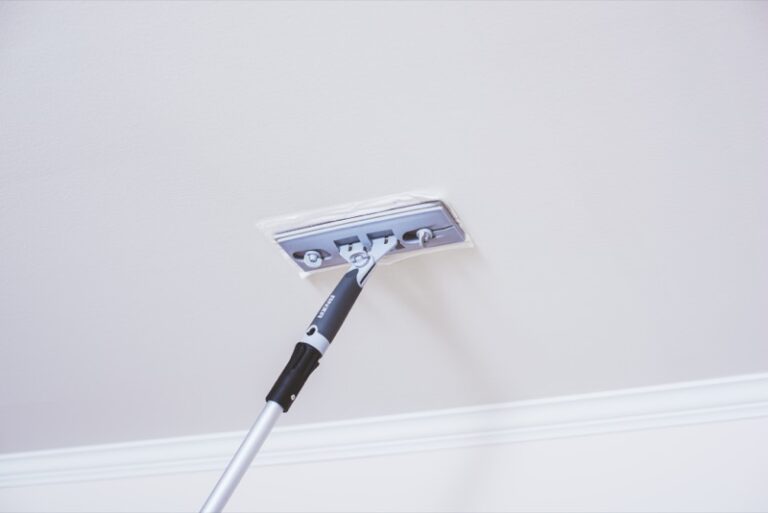
Thoroughly washing the ceiling is easy with Anza's disposable cleaning pad, designed for this purpose. Attach the cleaning pad to Anza's sanding tool – and when you add an extension pole, you can effortlessly reach everywhere when cleaning the ceiling.
Once the ceiling and moldings are clean, move on to the next step: masking and leveling.
Masking and leveling
Protect doors and windows
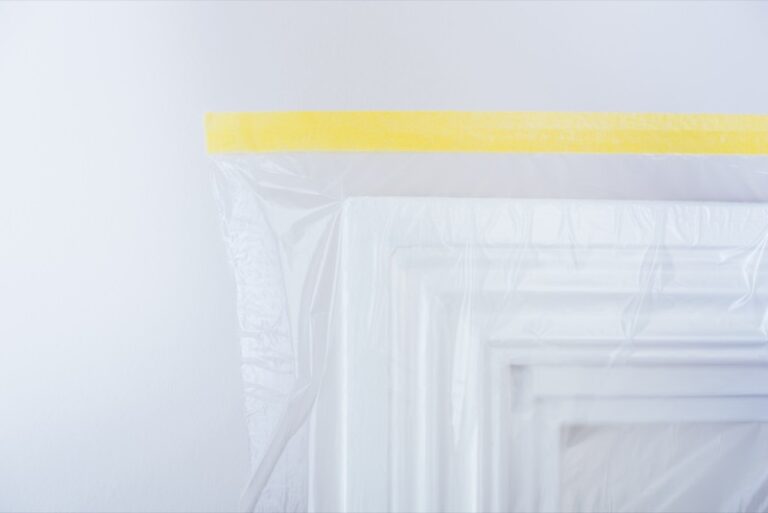
No matter how careful you are, paint can easily splatter during painting, especially when painting the ceiling. Avoid unnecessary effort cleaning and scraping off paint splatters afterwards, and cover doors and windows with masking film. Also cover the walls if they are not to be painted.
Moldings and ceiling
Paint moldings with a brush
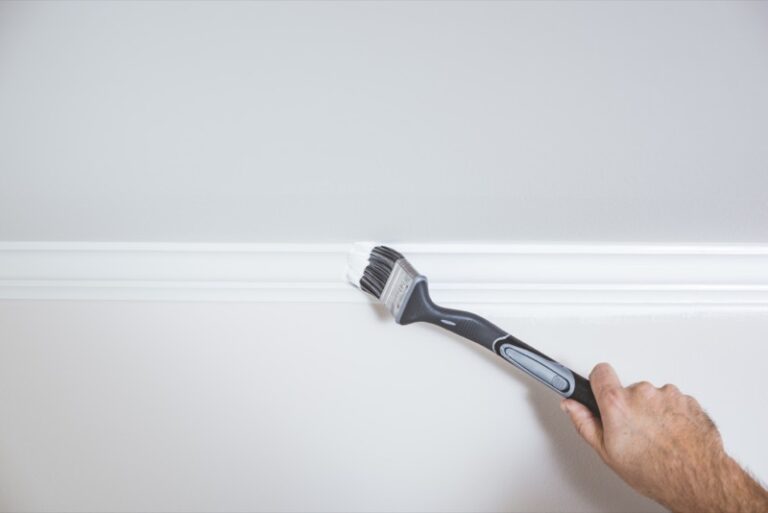
Start by painting the ceiling moldings with a brush. The best and most comfortable tools for this are long angled brushes. It's easier to spread the paint evenly if you start painting slightly inside the molding and work towards the corners. Remember, if the walls are also being painted, it doesn't matter if you paint slightly outside the molding and down onto the wall.
Paint the ceiling with a roller
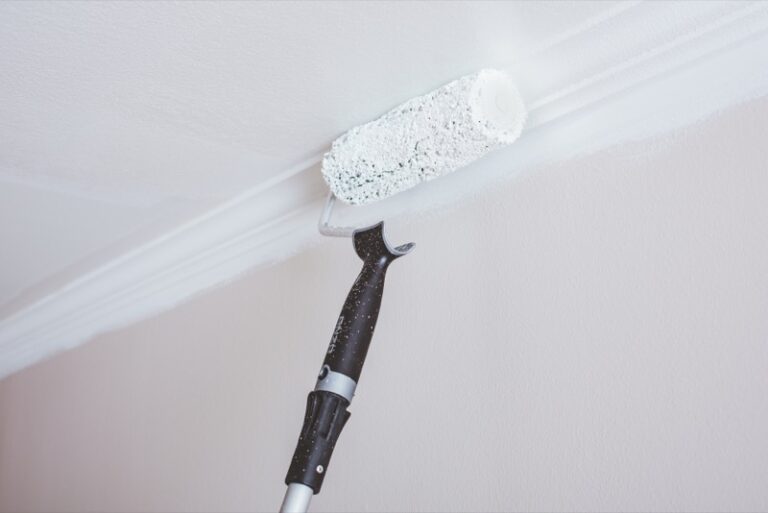
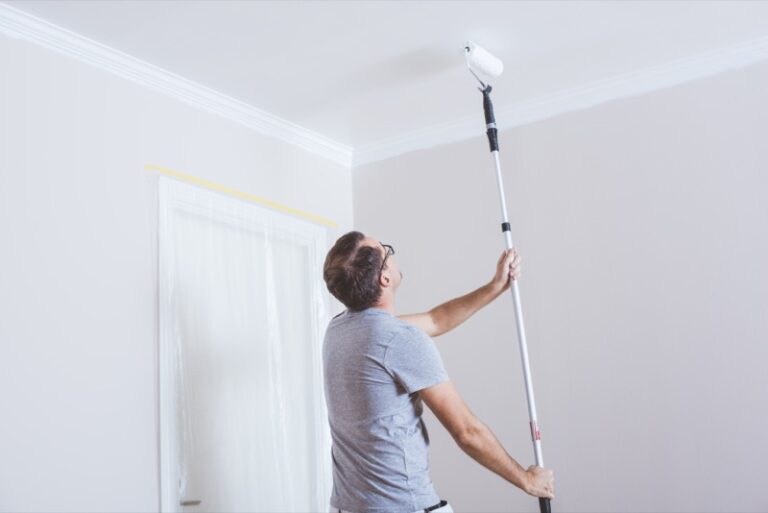
After painting the moldings, move on to painting the ceiling with a roller and remember to continue using an extension pole.
When painting, paint two or three roller widths at a time from wall to wall. Always paint in the same direction, from the light source inwards. Paint the entire ceiling at once to avoid visible seams. Make sure the roller always has plenty of paint, otherwise the result may be patchy.
Scrape off loose paint
Carefully check the entire ceiling. If there is any loose paint on the ceiling, scrape it off and lightly sand the treated areas with sandpaper. Fill holes, cracks, and unevenness with spackle. Once the spackle has dried, sand the surface smooth with sandpaper.
Fill holes and unevenness
Fill holes and unevenness in the ceiling molding using a Japanese spatula. This small tool, with its flexible blade, is excellent for repairing smaller areas and is perfect for this very task. Remember that spackle shrinks as it dries, so you may need to fill the holes one more time.
Once the spackle has dried, sand the surface smooth and wipe off all sanding dust with a microfiber cloth.
Well done! The room is protected from paint splatters, seams are sealed, and holes are filled. Now it's time for the first coat of paint!
Paint again
Paint the moldings and ceiling one more time. Use a brush for the moldings and a roller for the ceiling, just like before, and work in the same way.
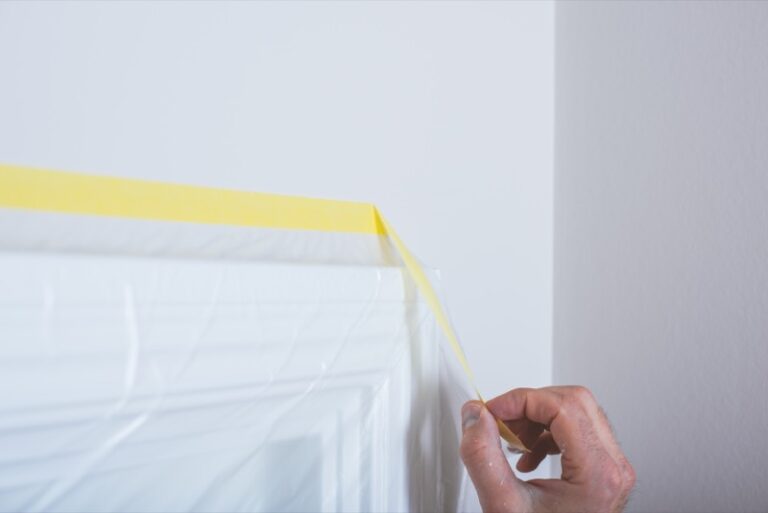
Remove masking tape in time
Remove all masking tape before the paint has had a chance to dry. Otherwise, the paint may peel off when you remove the tape.
Done! Now you are ready to continue with the walls. Read more about how to do it in our guide: Painting a wall – step by step.