
Is it time to refresh your home with new wall paints? By painting walls with both a brush and a roller, you can achieve an efficient workflow and a stylish result. We'll help you every step of the way.
Preparation
Protect the floor and wash the wall
Before you begin, lay protective paper on the floor to shield against paint splatters. Carefully check the condition of the walls and wash away any dirt and grease from the surface. This helps the paint adhere properly and reduces the risk of dirt showing through the painted surface later.
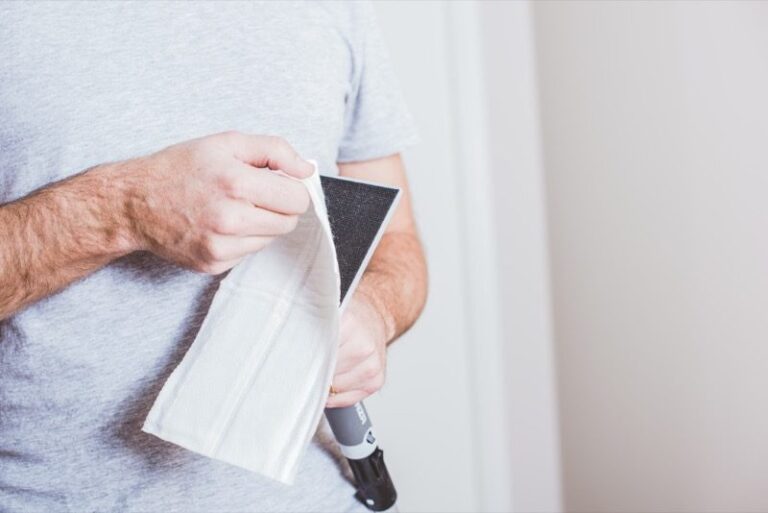
Wash the walls thoroughly before painting. You can easily clean the walls with disposable cleaning cloths. You can easily attach it to Anza's sanding tool, which, together with an extension pole, makes cleaning the walls easier.
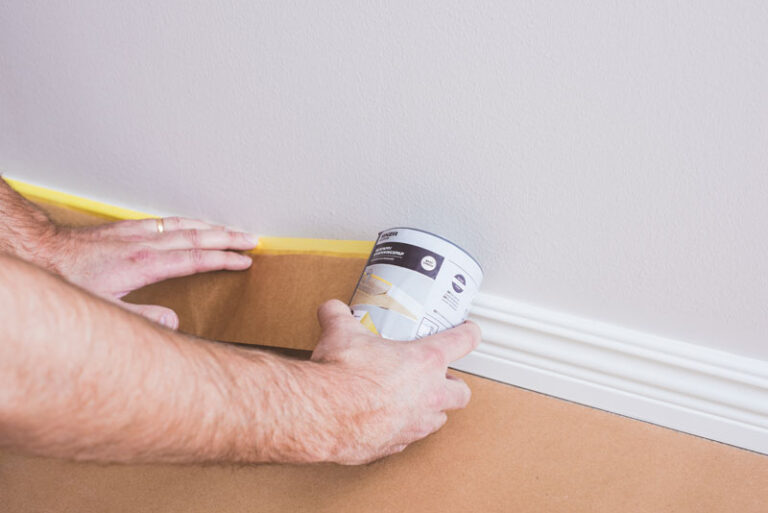
Mask trim
After washing, the next step in preparation is to mask all trim that is not to be painted. If there are gaps between the trim and the wall, you can fill them with caulk and smooth the caulk with a damp finger.
Remove loose paint
Now recheck the entire wall. If there is any loose paint on the wall, scrape it off and lightly sand the treated areas with sandpaper until smooth.
Are you planning to paint over wallpaper? Then read our guide here:
Painting over wallpaper – How to do it step-by-step.
Filling holes and imperfections
Fill any screw holes and imperfections with filler. Once the filler has dried, sand the surface smooth to ensure the wall is perfectly even. After this, you can move on to getting out the brushes and rollers.
Need more help with filling? You can find our tips and guides here:
Filling
Now it's time to pick up the brush and start painting!
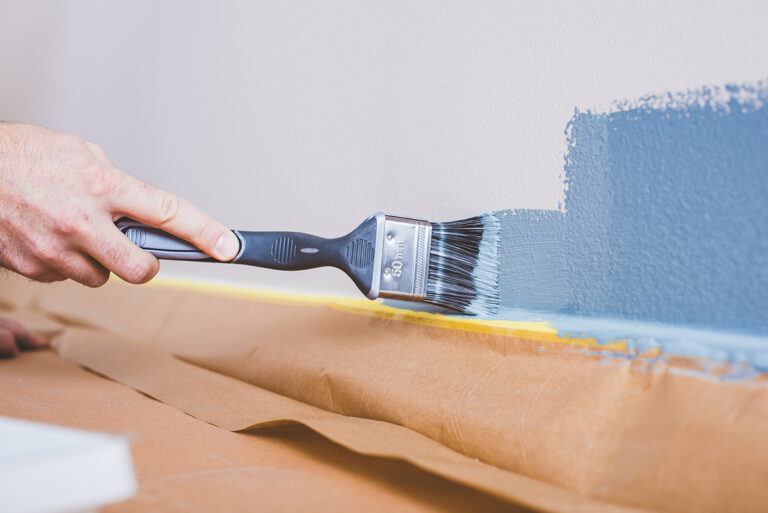
Paint the trim and corners
Your wall is now smooth and clean – ready to be painted with a brush and roller. Start by painting along the trim and edges with an angled brush. Then switch to a mini roller and go over the areas you just painted with the brush.
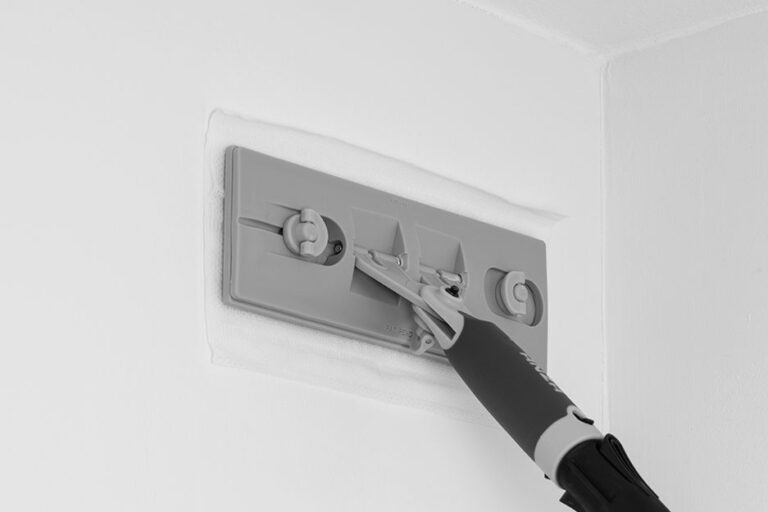
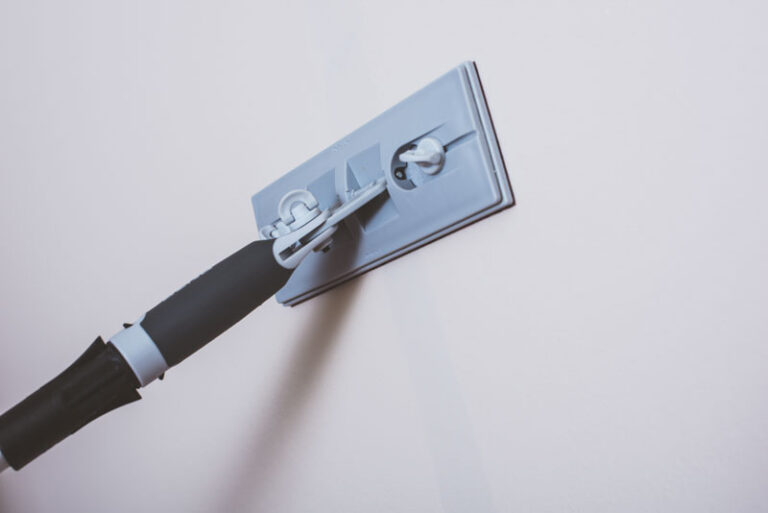
Do the same around light switches and power outlets. This is called cutting in. The purpose of cutting in is to ensure even coverage and a consistent surface for the entire wall when the second coat of paint is applied with the mini roller.
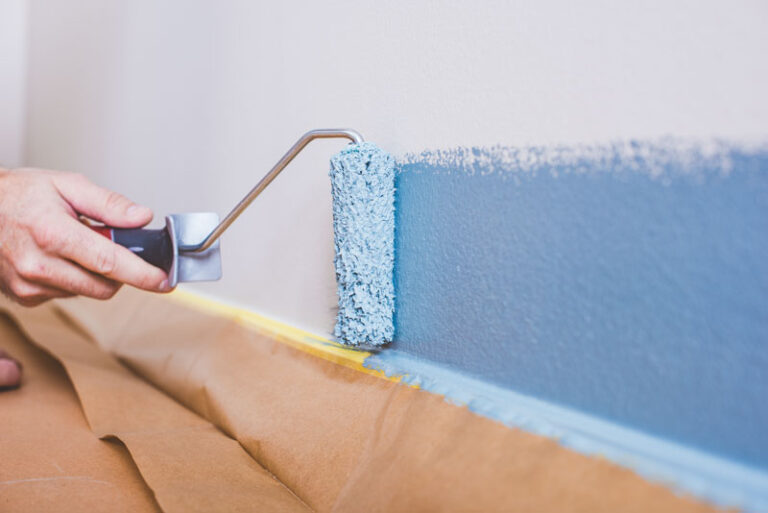
Roller painting
After cutting in, it's time for the fun part – rolling the wall with a larger roller. Use an extension pole to make the work easier and avoid needing a ladder. However, be careful not to hit the ceiling when painting the walls.
The cutting in is done, and now it's time for the large areas. Choose a roller according to the wall surface: short nap for smooth surfaces and long nap for rough surfaces.
Use a paint tray and ensure you get enough paint on the roller. When dipping the roller into the tray, the roller should absorb plenty of paint so you don't have to press it forcefully against the wall. If there's too much paint on the roller, the paint will start to run down the wall.
When painting, always focus on one wall at a time to ensure the color dries evenly. Do not paint haphazardly, but rather roll the roller vertically with long, consistent strokes. This prevents the final result from looking patchy or streaky. Using an extension pole improves both reach and working posture.
Let the walls dry thoroughly before applying the next coat of paint. Then paint the walls one more time in the same way as before. This will even out the surface and ensure a result you can enjoy for years to come.


